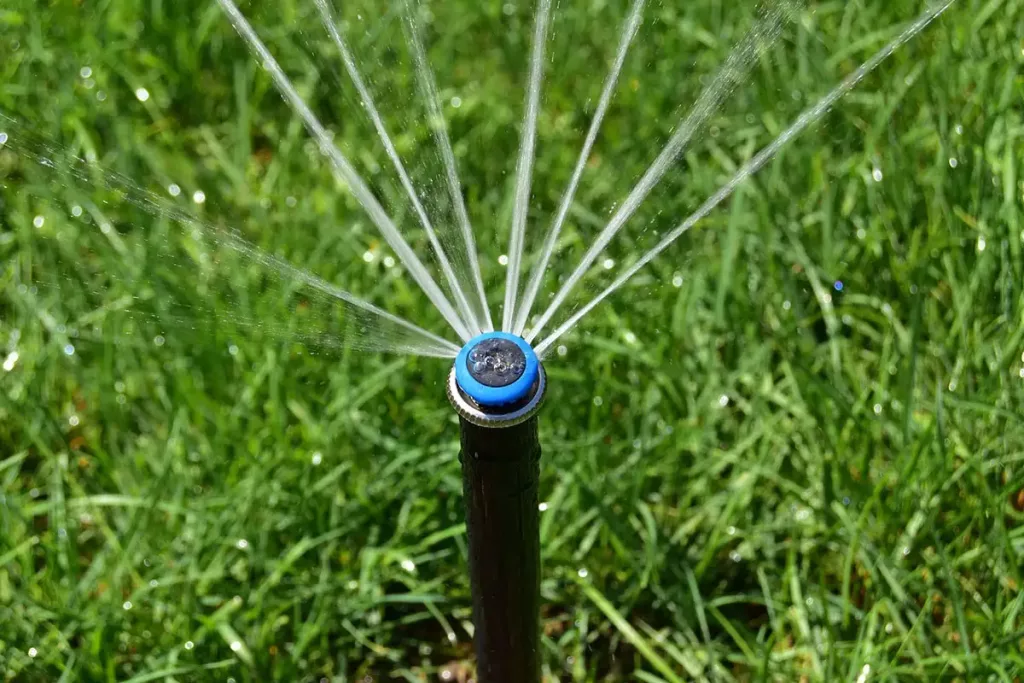
Sprinklers make your lawn looking fantastic for the majority of the year, but when autumn arrives, spend some time emptying and insulating them so they’ll be just as dependable in the spring.
If you don’t properly winterize your sprinkler system, any water that is still in the lines when the cold weather arrives will freeze, expand, and break, potentially resulting in severe damage to a system that is probably pricey. Use the instructions in this tutorial to learn how to winterize your sprinkler systems to keep the pipes from freezing this winter.
Before you start
Choosing the appropriate method to discharge water from your specific system is the first step in starting a sprinkler system winterization process. There are two basic approaches to this: first, drain the water from the valves, and second, blow the water out of the irrigation lines using an air compressor.
Many sprinkler system manufacturers advise homeowners to drain their systems when temperatures fall below 30 degrees Fahrenheit if you’re wondering when to winterize sprinkler systems.
In order to know if your system drains automatically or manually, you’ll also need to figure out what kind of drain valve it uses. Check valves are included on manual-draining sprinkler heads, which you must operate by pulling a few levers.
With the help of the information provided below, you can nearly entirely complete the required winterization once you know what kind of system you have, however you should always read over the owner’s handbook and keep it close at hand.
How to winterize a sprinkler system with backflow preventer
Turn off the backflow preventer’s valves if your sprinkler has manual drains. Pressured, potentially contaminated water is prevented from mixing with the potable water supply by a backflow device, which is typically situated close to the water main from which the sprinkler water is drawn.
It’s possible that your system doesn’t have a backflow device if you don’t use potable water for irrigation. If this is the case, turn it off using the valve shut-off handles on the two different pipes that come into the device. Simply rotate these rectangular handles one-quarter to one-half turn clockwise. If the valves are too tight to turn by hand, use pliers.
Draining water remaining within the irrigation system
If your sprinkler system has an automatic drain valve, it will always open when the system is off since there isn’t enough water pressure in the lines to press the valves shut. However, this draining won’t help to free any water that has become stuck inside the valves. Locate the solenoid, which resembles a PVC cap with wires protruding from it, on each sprinkler valve, and loosen it manually to allow air to flow through the system. Water should then drain out of each zone of the system mainline after this is finished.
Locate the valve at the lowest place along the mainline of your sprinkler system if manual drain valves are used. To prevent opening valves before they depressurize, wear safety eyewear because the water may be under pressure.
Next, close the mainline shut-off valve for the sprinkler system. After that, let the system’s control valve open. If not, it’s a manual valve that you might be able to operate from. The sprinkler system mainline will lose pressure if you do this. The manual drain valve should then be opened gradually and fully opened.
To use the manual drain valves on your system mainline, follow these steps for each one. Close each manual drain valve when the last drop of water has been drained.
Opening all the draining valves
Make sure there is no water left around the multiple valves that might expand as temperatures drop after draining the mainline manually or automatically. Depending on your system, you might have a “boiler drain valve” or a “stop and waste valve,” which will halt the local water supply and also permit draining that pipe. The final bit of water between the irrigation system and the backflow prevention device can be drained by finding the valve’s drain cap and opening the valve.
Using an air compressor to blow out the irrigation pipes
Gravity will direct practically all of the water out once the pressure in the mainline has been released, assuming your sprinklers are reasonably fresh and built appropriately with the irrigation pipes sloping downhill towards the valves where water can escape at the lowest point in the system.
However, it’s difficult to be confident that some hasn’t been left behind—perhaps stuck under a dip or curve in a pipe that has moved since installation. Due to this, experts advise hiring a professional to perform an additional precaution that will allow any final drops of water that are still in the sprinkler system to be released: blowing out the pipes using an air compressor.
Any system parts that are above ground should be insulated?
Insulate any sprinkler system components that are exposed above ground, such as pipes, backflow preventers, and main shut-off valves. Foam pipe covers, insulating tape, and other winterizing supplies are typically available at nearby hardware stores.
Final words
If your sprinkler system malfunctions during the winter when temperatures drop and winds howl, a little effort put forth up front might save days of work and many costs. Your sprinkler system won’t be negatively impacted by colder weather if you follow these simple measures for efficient and effective winterization. Read More>>>
Leave a Reply