Despite the fact that it should be on your list of preparations for the fall, many people neglect lawn sprinkler winterization. Winterizing a lawn sprinkler system is an essential task to protect it from potential damage caused by freezing temperatures. Proper winterization of your sprinkler system helps prevent water from freezing in the pipes and components, which can lead to cracks, leaks, and costly repairs. The good news is that you can get it ready for winter on your own without hiring a professional if you have the necessary tools and know-how.
Here, we outline precisely what you must do to prepare a sprinkler system for the winter.
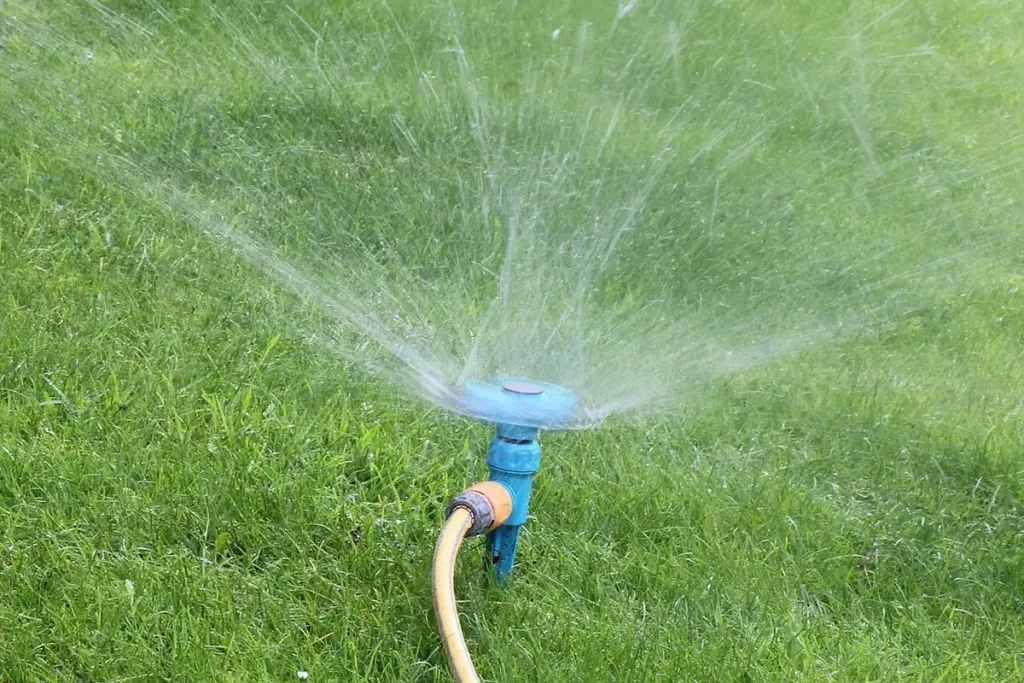
Review System Documentation|| sprinkler winterization
Familiarize yourself with the specific winterization guidelines provided by the manufacturer of your sprinkler system. Different systems may have slight variations in the winterization process.
Shutting off the water
Locate the main water supply valve for the sprinkler system and shut it off. This valve is typically located indoors, often in a basement, garage, or utility room. Turn the valve to the closed or off position to stop the flow of water to the system.
Drain Backflow Preventer
If your sprinkler system has a backflow preventer, which is a device that prevents water from flowing back into the main water supply, it needs to be drained. Locate the drain valves on the backflow preventer and open them to allow any water trapped inside to drain out. If there are test cocks, open them as well.
Open Drain Valves
Locate all the drain valves on the sprinkler system. These valves are typically located at the lowest points of the system, such as at the end of lateral lines or in low spots in the landscape. Open the drain valves fully to release any water from the pipes. Depending on the system, there may be manual or automatic drain valves.
Activate Manual Drain Valves
If your system has manual drain valves, activate them to allow water to drain from the pipes. This is typically done by turning the valve to a specific position designated for draining.
Remove Water from Sprinkler Heads
Manually open each sprinkler head to release any water remaining in the pipes. This can be done by turning the sprinkler head counterclockwise until it stops. Allow the water to drain completely.
Switching off the timer
Set the automated timer on your system to rain mode if it has one. By doing so, you can turn it off and store your settings for the spring. Turn it off fully if it doesn’t have a rain mode.
Draining the remaining water
The time has come to drain the pipes of any remaining water. The difficult part is here, although it’s not too difficult once you know what you’re doing. The water can be drained manually, automatically, or by blowing it out with an air compressor, among other methods. All three methods are listed below.
Manually draining the water
It’s simple to use this technique. In essence, the pipes are elevated to allow for manual drainage when a valve is released at the lowest position, which might be the end of the pipes. Release each valve gradually to let the water to drain until it is completely empty while wearing eye protection goggles. After finishing, shut them again.
Automatic draining approach
It’s really helpful when sprinkler systems can drain themselves automatically. The only thing you have to do is activate the sprinklers while the water is turned off. Most of the water will be removed, but some will still be present in the valves. The solenoid on each valve – which resembles a few wire cables coiled out of a plastic cap – must be loosened in order to drain the remaining fluid. Once all of the water has been drained, tighten these again.
Blow out draining process
The hardest and longest draining procedure is this one. In essence, compressed air is forced into the system, forcing any extra water through the sprinkler heads. However, if not done correctly and with the appropriate safety gear, this can be a dangerous procedure that might potentially harm both the system and you.
Additionally, not all sprinkler systems are built to withstand this kind of pressure, thus it is advisable to refer to your lawn sprinkler system manual. We advise calling a professional to manage this approach if you’re not confident using it, are uncertain in any manner, or even if this is your first time.
If you can, then follow these steps to utilize this process:
● To start, ensure your eyes are protected by safety eyewear.
● You must locate an air compressor that can produce between 80 and 100 cubic feet of air per minute. Since most home compressors can’t produce this amount of pressure, you might need to rent a machine.
● After turning off your water, you must next use a hose bib or coupler to attach the compressor to your sprinkler system. Avoid blowing air through the backflow prevention device as this could harm it.
● The next step is to locate and turn on the sprinkler station that is the highest and most remote from the compressor.
● Closing the backflow isolation valves following that would be the next thing to do.
● Open the compressor valve slowly and cautiously to start letting air into the system. Make sure nobody is standing close to the sprinkler station that is open.
Slowly releasing more air into the system
More air should be introduced to the system gradually; do not inject it with an excessive amount of air at once, as this could harm it. A water spout will start to appear as you continue. A sprinkler system’s manual should be consulted if you have any questions about the maximum pressure that is advised. On average, PVC piping shouldn’t be pressured above 80 PSI, while polyethylene piping shouldn’t be pressured above 50 PSI.
Switching off and disconnecting the compressor
Disconnect the compressor after the water stops spraying. You will switch on each sprinkler head individually and cut it off after the water stops flowing from it, starting from the sprinkler station that is the furthest away and working your way back to the compressor. Between each station switch, don’t forget to turn off the compressor. Work swiftly but carefully through them; you don’t want compressed air to blow through the means of dry pipes for any longer than is absolutely required.
Insulate Exposed Components
If you anticipate extremely cold temperatures or live in a region with harsh winters, consider insulating any exposed components, such as above-ground pipes or backflow preventers. You can use foam insulation sleeves, heat tape, or insulated covers to protect these vulnerable parts.
Keep Valves Open
After completing the winterization process, ensure that all drain valves, test cocks, and manual drain valves are left open. This allows any residual water to continue to drain and prevents pressure build-up in the system. Also Read>>
System Monitoring| sprinkler winterization
Throughout the winter, periodically check the your lawn irrigation system for any signs of leaks, freezing, or damage. If necessary, address any issues promptly so that come spring, your sprinkler system runs smoothly!
Leave a Reply